The Making of a Horse Pendant- My lockdown Project
My first horse pendant “Dancer” has taken me over 18 months to perfect. I have never made jewellery before, and to create such a small piece with such intricate detail has been an immense learning curve. There was a lot of trial and error, lots of mistakes, but I got there in the end, and I am so happy to present this beautiful mini sculpture which you can now purchase and wear around your neck.
Here's the story…

My best friend Kate has a beautiful dressage horse called Queenie; her full name is Dancing Queen. She is a stunningly beautiful black Dutch warmblood. When I go to Wales to visit Kate, I am always completely enamoured by Queenie. I watch Kate ride her seamlessly as she floats across the dressage arena. Her paces are like nothing else I have seen. And what I love about Queenie is that she is also a bit of a diva, a gorgeous horse full of personality and a wild spirit.

As you can see from the picture of Queenie below, she is both elegant and beautiful, a perfect subject to base my first sculpture on.

I wanted to sculpt her in a way that captures her. She does a gorgeous canter pirouette, and so I wanted to capture this movement in a way that could be kept and treasured.

When lockdown happened last year, I found myself alone with no commercial work to do, the entire world had just been shut down. I had only separated from my husband a few months before and this was the first time that I had lived on my own in seven years. I struggled in the first lockdown and in a way the pendant project saved me.
Lockdown was the perfect opportunity for me to throw myself into a new project and I was so excited to be starting the Queenie sculpture. For those reading this who do not know my background, I used to work in 3d animation and design. Over the last ten or so years, the 3d printing industry has come along leaps and bounds and is widely used to create jewellery prototypes.

Below are the first design sketches for the pendant. I wanted to create a pendant which was realistic. I noticed that a lot of pendants on the market where quite flat or badly sculpted. This pendant was more of a little sculpture which you wear around your neck which would be available in 3 different colours.

I had not used 3D software in over 5 years, and so I was out of practice so much that it felt as though I was back at square one. As it was lockdown I decided to bite the bullet and relearn 3D.
I downloaded z-brush and started to retrain myself on how to make a horse in 3D. Z-brush is a computer program, but what it does is create digital clay which allows you to sculpt into the computer the same way in which you would real clay.
I started to work on Queenie. I had taken a series of pictures of her and Kate the summer before and I used these photos as references to make sure that I got her proportions correct.
It took about a month to get Queenie to a place where I was happy to 3D print her. Below is a little video of me using zbrush to give you an idea of what the 3d software is like.
Before I printed the first version of Queenie out, I created a 3D video render of her on a turntable so that I can have a look at the model properly and check that I was happy with it.
I then proceed to make a larger resin of her which I could use to check the detailing of the model. There was a few tweaks and changes to the horse, but overall I was happy with it.

I then took the model to a casting company. The had to attach a sprue, this is the large pole that you can see coming out of the back of the horse. The sprue is attached so that when they put the horse into a rubber mold, they have a pipe in which they can pour the metal into. This casting company put it on the back of the horse, they did tell me at the time that that was the only place in which it could go.

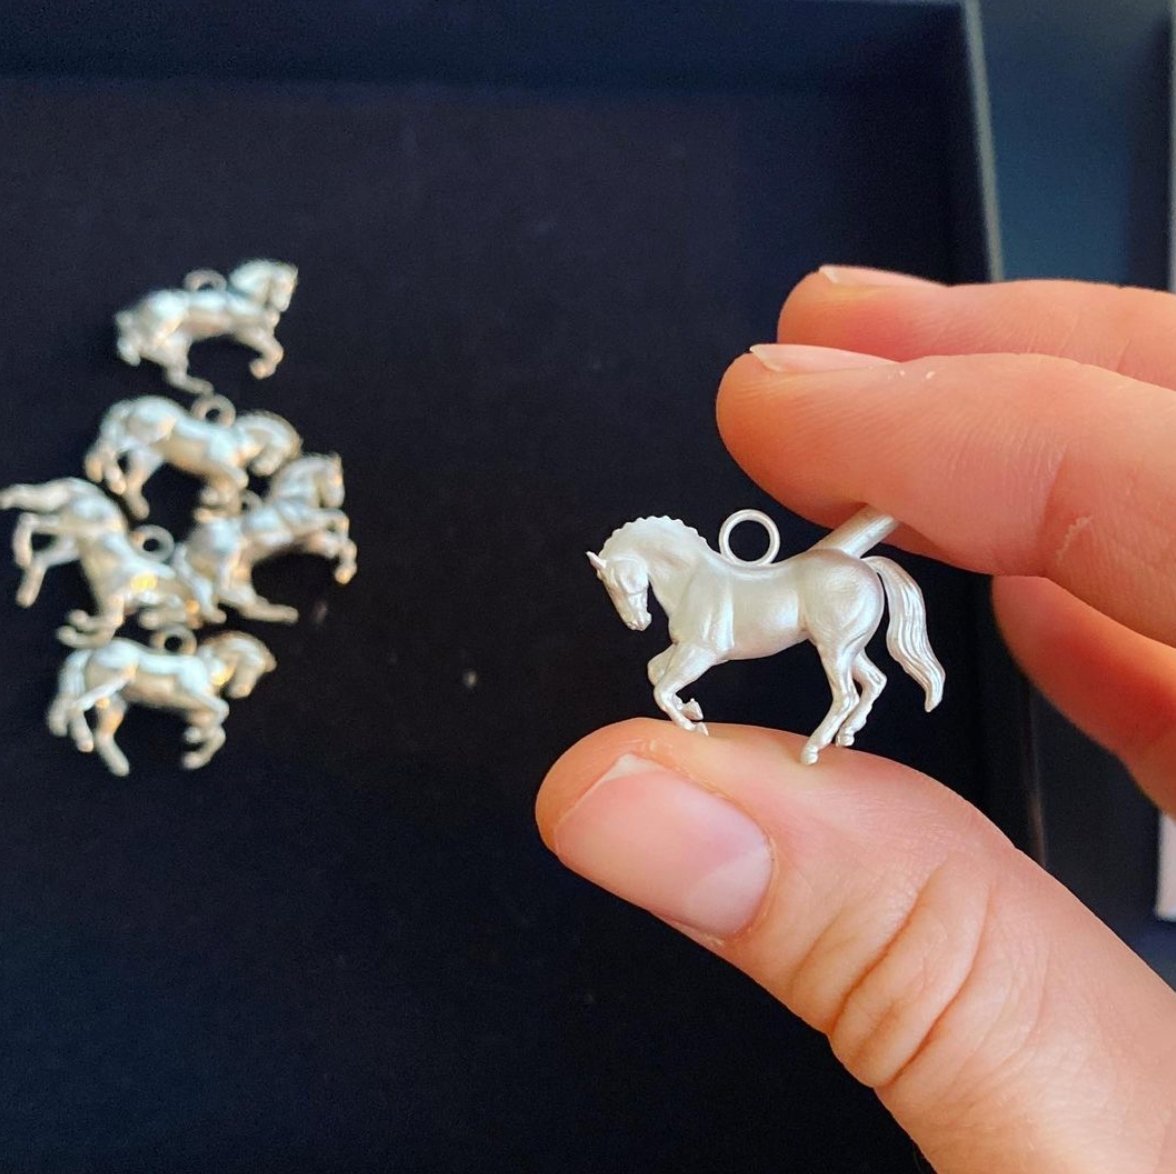
I was really happy with the level of detail in which this small 3D print model maintained. It was only 20mm in length, and the level of detailing was so intricate, you could even see the horses horse shoes. Once the 3d print was made it was then used to make a rubber mold. Then it was cast in silver- I had 5 silver samples made up to being with.

I was over the moon with the first silver samples, they were so beautiful and intricate. The horse was perfect. I needed to then find a jewellery making workshop which could then take off the sprue for me. I had no experience in this kind of thing, so I had a look online and found a freelancer who seemed to know what he was doing.

When I got the fist initial samples back from the workshop I was devastated. As you could see, not only did he just take the sprue off, he also polished all the detail out of the model. I preferred the horse when it was left as raw as possible so that I could see all the detailing. This polished version had even taken the eyes and muscle structure off, all my hard work was ruined.

If you look at the horses face, you can see that sadly all the detail was polished off. So I had to make some more samples and try again for a more raw finish that would leave all the detailing in.

I also realised that where the sprue was had damaged the horse, it was very difficult to carefully take the sprue off and keep the lovely shape of the bottom. I had worked hard to make sure Queenie shape was in proportion and life like, but the sprue on the back of the horse was damaging. I then found a second casting company who would 3D print the horse for me with the sprue attached to the belly. I had also made the ring on the back of the horse too big. I redesigned the ring on the back of the horse to make it smaller and a better size.

The second 3D horse was printed with the sprue out of the tummy, I also thickened the horse in places to make sure it did not break. The casting process erodes the model so it is better to create it a bit thicker to begin with and take the eroding into account.

Once the model was cast in silver, I then took the horses to a master jeweller who I had been put in touch with in Hatton Garden. This guy was an absolute gem (sorry for the pun). He carefully took the sprues off the horses and then gently cleaned up the horses to make sure the bellies remained round. He very gently polished them but kept parts as raw as possible to make sure that non the of the detailing was taken out.
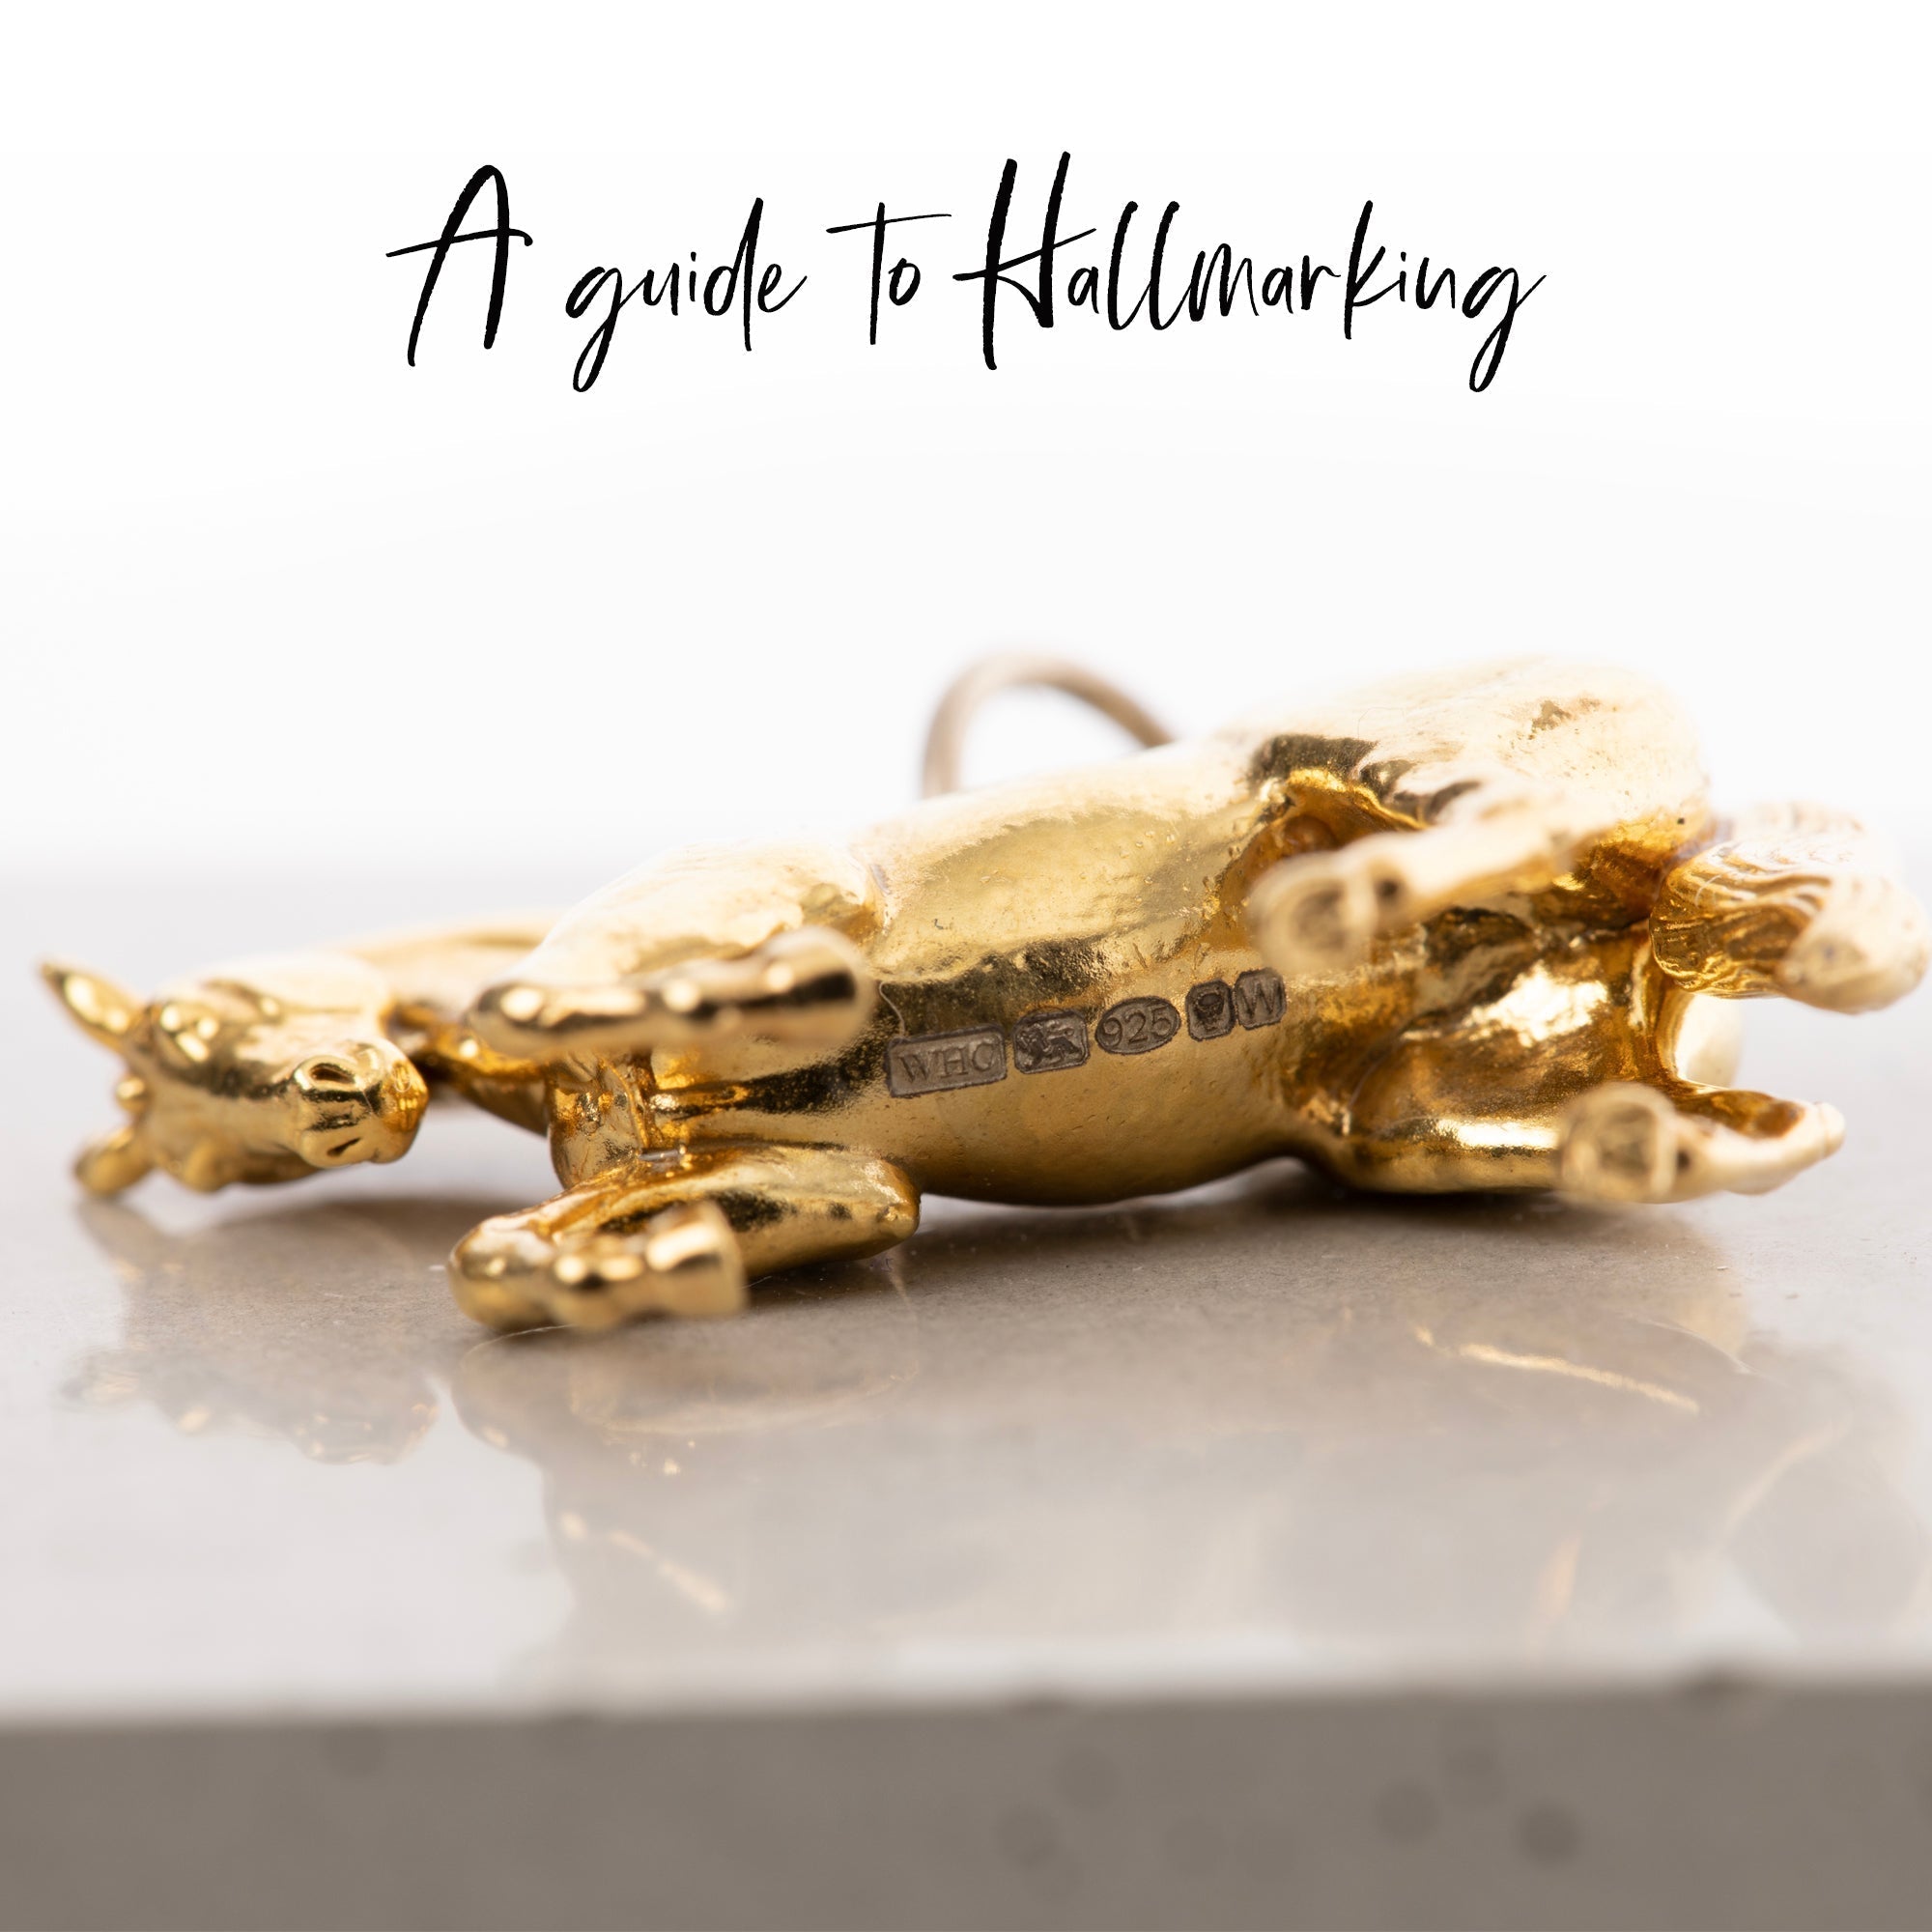
The last and final detail was to get the pendant hallmarked at the Assay office in London. Hallmarking is your guarantee that we are using the precious metals that we say that we are using, to read all about hallmarking CLICK HERE.
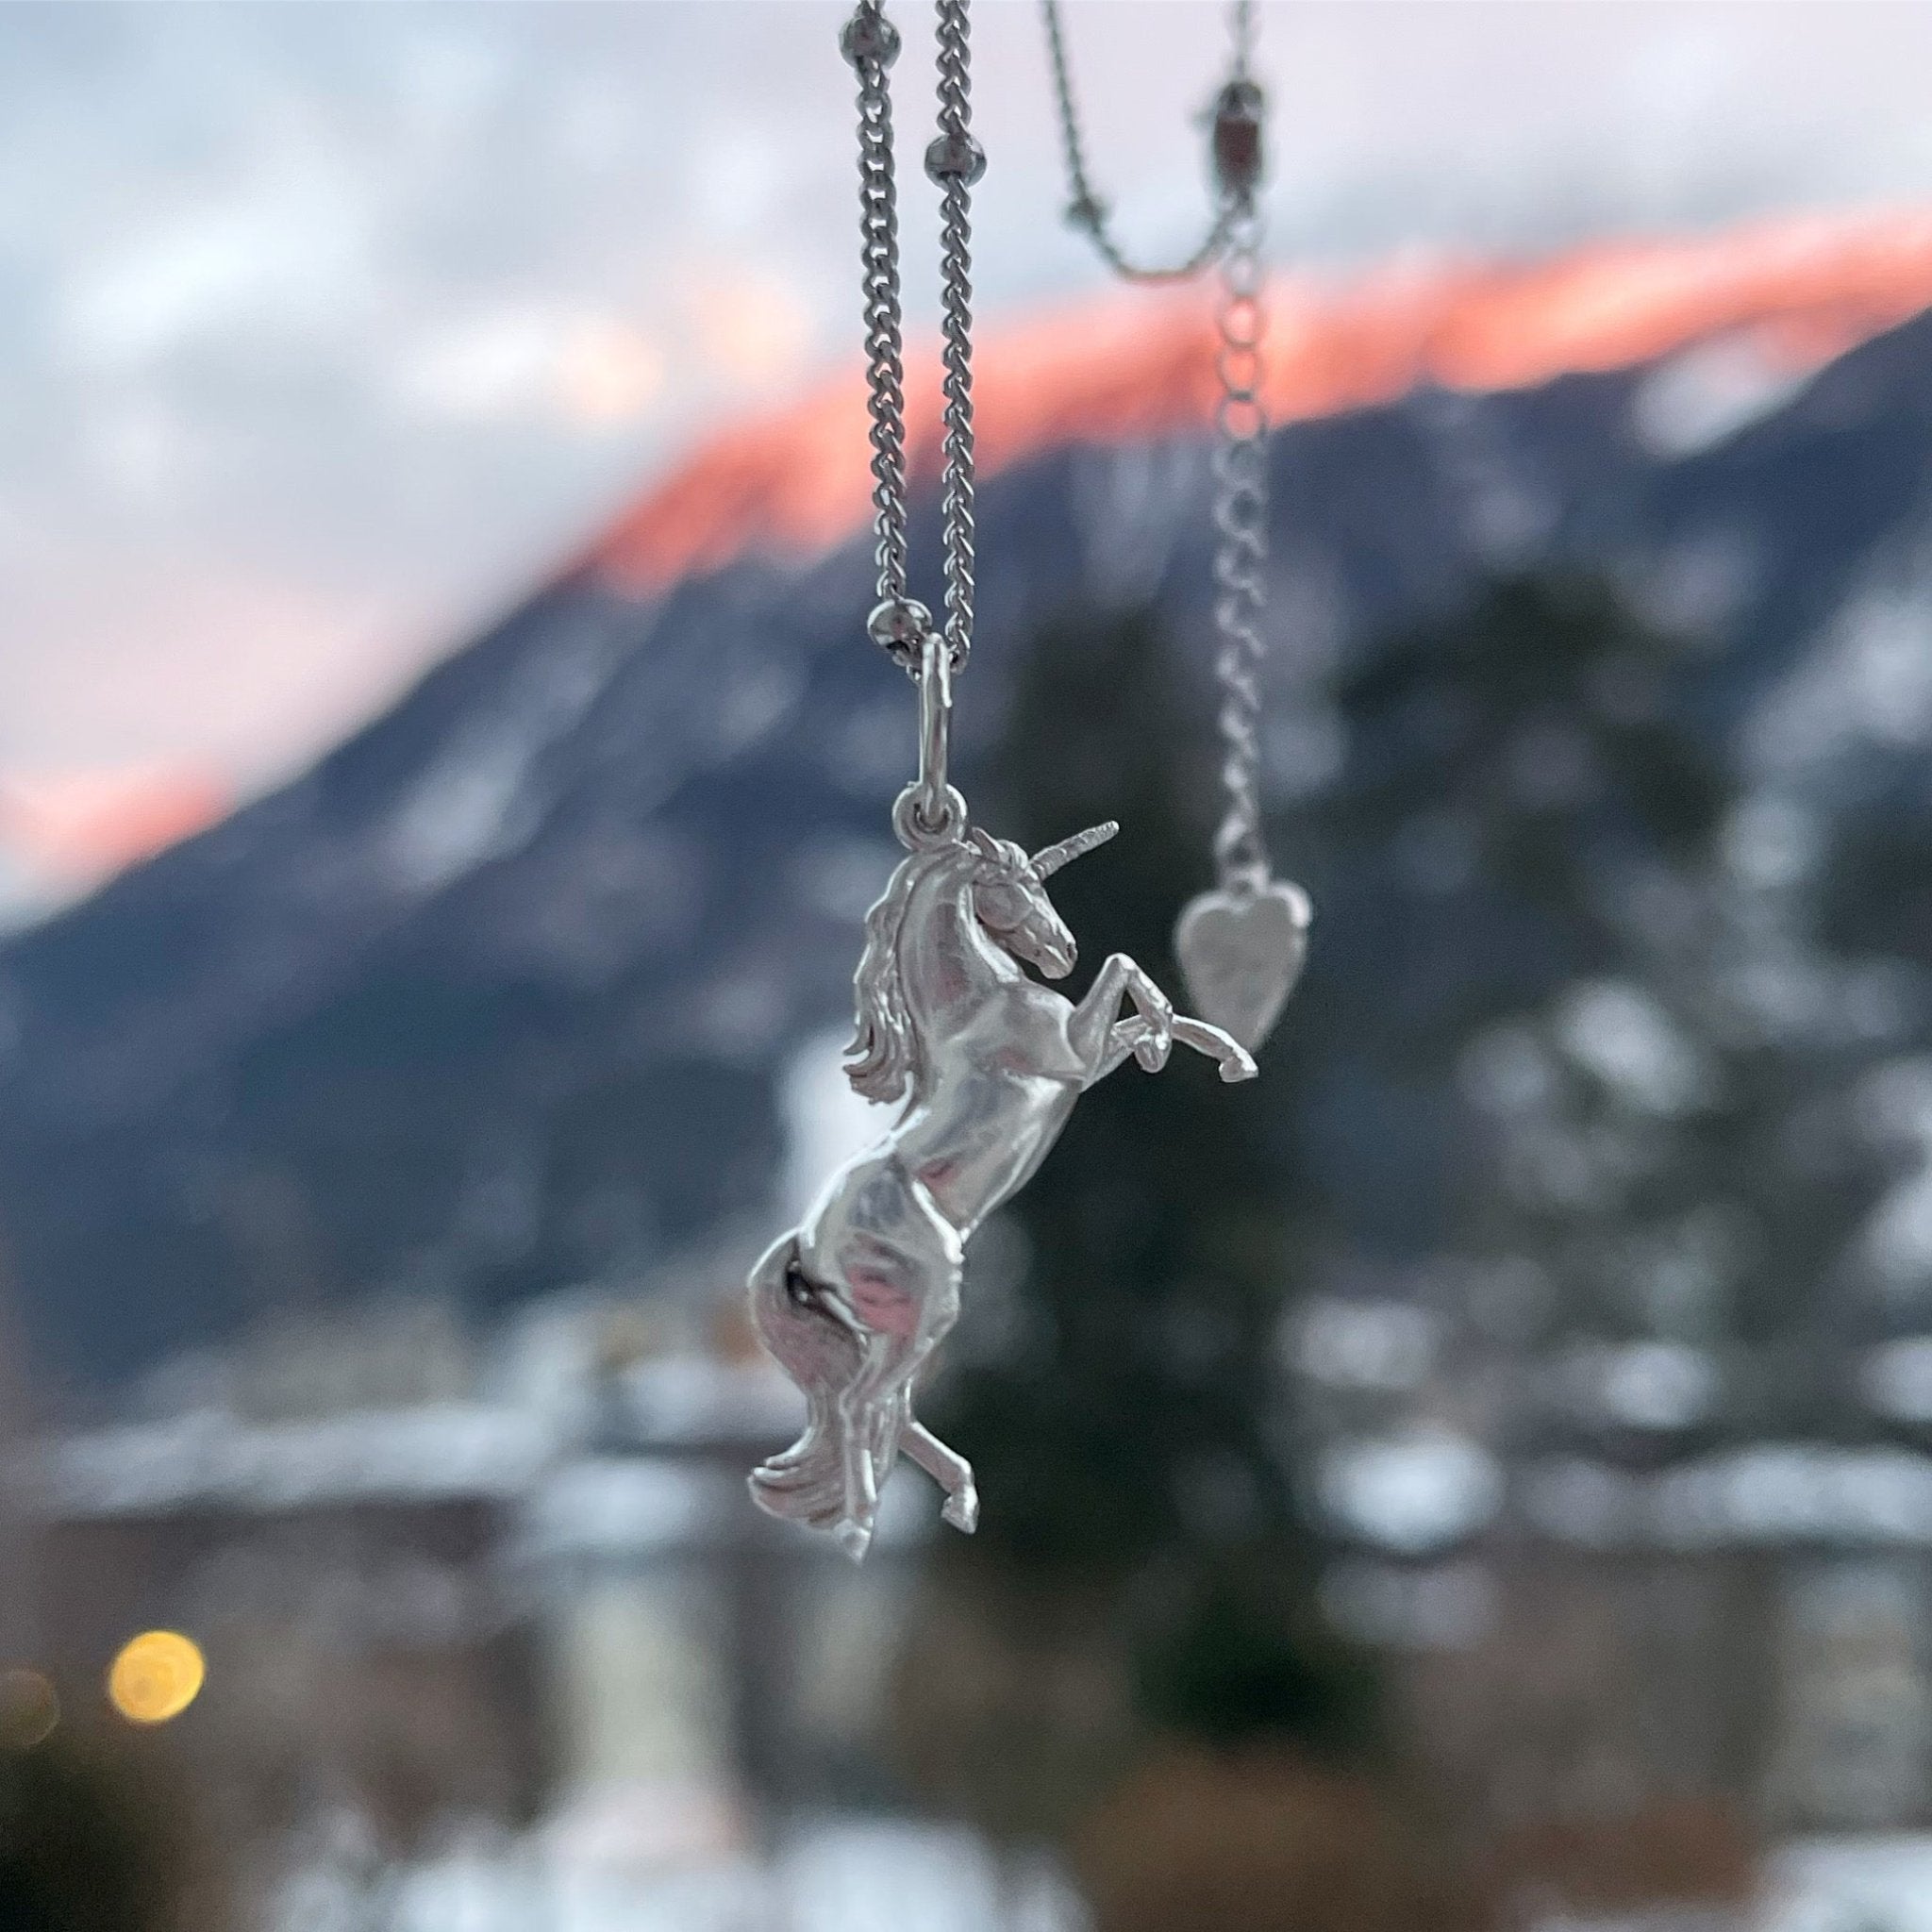
I am so happy with the final results of the pendant, it looks so chic and beautiful.

If you enjoyed reading about the making of this pendant and want to follow the journey of future work, please follow @carolinetowningart
Written by caroline towning


Leave a comment
This site is protected by hCaptcha and the hCaptcha Privacy Policy and Terms of Service apply.